
Symmetra is one of those Overwatch heroes that only worked in niche scenarios and team compositions. Her limited versatility and overall effectiveness never justified this hero taking up a slot on a team. However, Blizzard is aiming to change this with a complete reworking of the character and her role in Overwatch. Plucked out of the support category and dropped into damage, Symmetra now has a pretty wide range of uses.
Keep in mind her place within the meta is still shifting, so it’s unclear just how impactful she’ll be during the competitive season. Yet, if you do want to use her in the rapidly approaching season 11 here are five tips for the reworked Symmetra.
1. Get Creative With Your Teleporter
Sym’s teleporter is no longer assigned to the ultimate slot, allowing her to use this powerful item multiple times a match. The teleporter is on a 12-second cooldown, can only be placed at a certain distance, and has a 10-second duration once it has been set. Keep in mind you also need line of sight for both the entrance and the exit, but this means you can see where the exit will go.
One of the best uses for the teleporter is to quickly get downed teammates back to the point. After someone on your team dies, wait until they respawn and then quickly use your teleporter to cut down their travel distance. This ensures that they can get back into the fight in a reasonable timeframe. The teleporter is especially useful on maps such as Volskaya Industries, Route 66, Dorado, and Eichenwalde. Any level that forces players to walk a long distance in a straight line from the spawn room is perfect
If you have a team that’s communicating then consider using the teleporter as a way to flank around enemy teams. Dropping a teleporter and then quickly moving your entire squad behind your opponents is a fantastic way to catch them off guard. Even if they see the teleporter get set down, you are forcing them to look away and commit to removing it. This will produce a scenario where some of their attention is diverted, allowing you to push through a chokepoint or objective.
2. Be Aggressive With Your Turrets
Previously, Symmetra had to manually place her six turrets which limited their use in certain scenarios. However, she can now launch them in a straight line until they connect with an object in the environment. Once they hit something other than a player they will deploy and begin to attack any foe within a 10-meter range. Because of this, you can get very aggressive with your turrets and use them to clean up or distract foes.
Since these turrets continuously travel until they hit an object in the environment, you can actually use these to kill foes trying to escape. If a fight swings in your favor, consider throwing a few turrets behind the enemy to limit their escape path. In contrast, you can use her turrets to cover teammates who are trying to disengage from a battle.
Her turrets are still great for limiting chokepoints but don’t be afraid to toss them out during a fight. Just remember to put them just above the enemy’s sightline so they cannot just turn and destroy the turrets. In 1v1 fights, use the turrets as a way to zone your enemies closer so they can’t escape your beam weapon. While they do 50 damage-per-second, sometimes it’s better to just use her primary weapon in a fight.
3. Pick the Right Map
While Symmetra is far more viable now, she still struggles on Control Point maps. This is mainly due to the cramped nature of these maps, making her teleporter’s use limited. Even though her primary weapon is quite dangerous at close quarters, other heroes such as Reaper are better picks for close quarters DPS. Sym’s biggest strength is her kit’s versatility, so playing on maps such as Oasis that limit this can be detrimental.
Yet, her use on Payload and Capture Point maps cannot be understated. She can easily help teams push through checkpoints with minimal risk. This does require good communication, so make sure you’re playing with friends. Her ultimate is also potent on any map with a single chokepoint like Hanamura since she can wall that off entirely. Maps with multiple flanking routes will prove too much an issue since she has a reduced turret count and cannot lock entire areas down by herself.
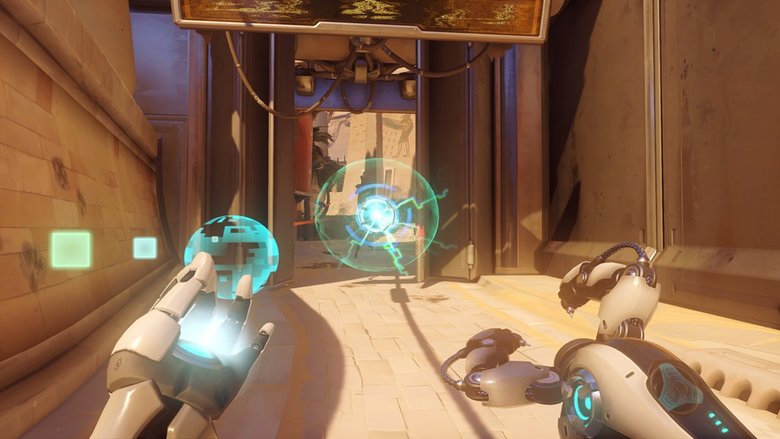
4. Don’t Forget Her Alternate Fire
Traditionally, most Symmetra players just charged up her secondary fire and lobbed it at enemies since it would pass through barriers. This is no longer the case, however, her fire rate has been increased so Sym users can rapidly fire smaller orbs at foes. This isn’t her ideal way of fighting enemies, but players shouldn’t forget about when trying to hold off a chokepoint. Spamming her energy orbs – regardless of their size – can be an effective way to whittle your opponent’s health down.
The big orbs now do 60 damage upon impact, which makes them pretty poor against Reinhardt’s and Orisa’s barrier. Instead, use these as a way to zone foes from moving to either side of Reinhardt’s shield. This will force the enemy team to gather together and potentially set your squad up for a big multi-kill. However, stick to her beam whenever possible when fighting enemies up close. It’s far more effective and can get out of hand quickly.
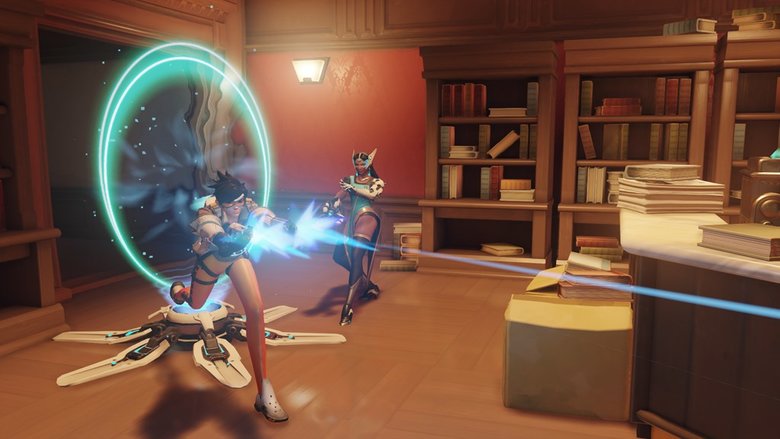
5. Save Your Ultimate
Symmetra’s new ultimate – Photon Barrier – might be big and flashy, but it’s imperative that you don’t waste it. This ultimate can swing entire matches if used correctly and help your team either defend or obtain a tricky objective. Instead of just throwing it out right as you get it, use Photon Barrier as a way to cover your team if something goes wrong. This ultimate is great for letting Reinhardt recharge his barrier if it breaks or just replacing him until he returns from spawn.
Photon Barrier is also great for cutting an enemy team’s defense in two. Since characters such as Moira can no longer heal through barriers, you can force them to push out from the backline. This will make engagements awkward for your opponents and give you a chance to close the gap. Her barrier is also great for zoning out teams who are all on the high ground or in a specific location.
You want to use her ultimate as a way to force fights that are not favorable for the enemy. Much like Sombra’s EMP, the Photon Barrier is great for disruption and general chaos. With a bit of practice, you’ll learn when and where are the best places to drop this massive shield.