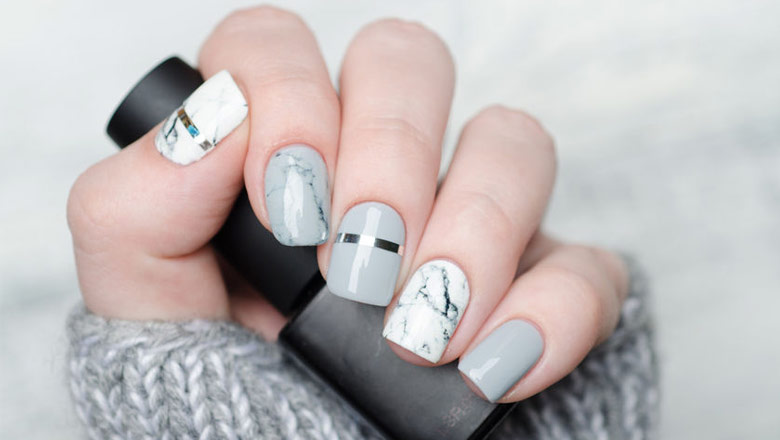
Curious how artists create those gorgeous marble nails? Blooming gel polish is a special type of gel that encourages polish colors you paint on top of it to spread. See below for tips on how to use blossom gel to create all sorts of nail designs.
If you’re going for a more watercolor look, check out watercolor nail polish instead. Don’t forget to upgrade your no wipe gel top coat while you’re at it.
|
Amazon Customer Reviews
|
Price: $12.23 Shop at Amazon | Shop now Read our review |
|
Amazon Customer Reviews
|
Price: $6.99 Shop at Amazon | Shop now Read our review |
|
Amazon Customer Reviews
|
Price: $9.99 Shop at Amazon | Shop now Read our review |
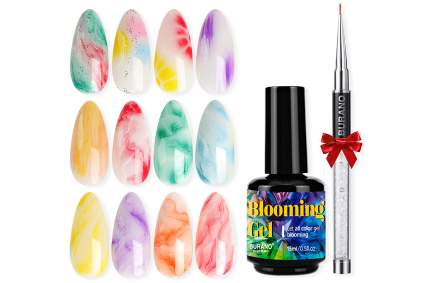
|
Amazon Customer Reviews
|
Price: $8.99 Shop at Amazon | Shop now Read our review |
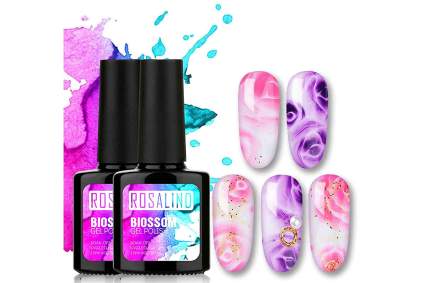
|
Amazon Customer Reviews
|
Price: $5.99 Shop at Amazon | Shop now Read our review |
-
1. EDITOR’S CHOICE: Spreading Effects by Mia Secret
Pros:- Salon-grade
- Full-size bottle
- Crystal clear
- Made in America
Cons:- Has a learning curve
- More expensive than some
- Can spread too quickly for some
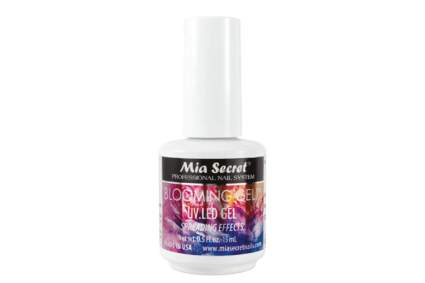
American-made Mia Secret’s Spreading Effects Blooming UV Gel is a good choice for people looking for a salon-grade brand that is trusted by professional nail techs. It’s reliable and cures crystal-clear for ideal results.
It has a nice viscous formula that keeps the product from flooding your cuticles even when you apply a thicker layer. With thicker coats, some users have found that the designs spread faster than expected so it’s best to do one nail design at a time and then cure it before moving on to the next nail. That’s good practice for all blooming UV gels.
You get a full-size 15-milliliter bottle.
Find more Spreading Effects by Mia Secret information and reviews here.
-
2. Nail Art Blossom Gel by Aimeili
Pros:- Affordable
- Known gel polish brand
- Designs spread well
- Easy to apply
Cons:- Smaller bottle
- Designs may spread too quicky for some
- Too thick for some
- Bottle doesn't say "blossom gel
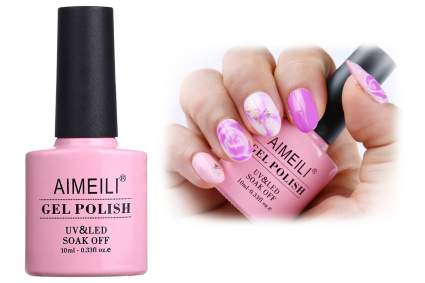
If you’re on a budget go with this Nail Art Blossom Gel by Aimeili. As far as cheaper, more drugstore-level brands go, I’ve featured Aimeili several times because it’s a solid, affordable brand. I’ve featured them as among the best all-around best gel nail polish.
It comes in a 10-milliliter bottle which is slightly smaller than a traditional polish bottle size but typical for a gel polish. The formula is fairly thick which allows the designs to spread well and spread quickly.
It’s a great choice for people who can be a little impatient waiting for your blossoming gel to work but keep an eye on it as it can spread too much and get muddy if you wait too long.
Find more Nail Art Blossom Gel by Aimeili information and reviews here.
-
3. Beetles Blossom UV Gel
Pros:- 9-Free
- Bottle will last you a long time
- Incredible results
Cons:- Contains HEMA
- Easy to apply too much
- Not thick enough for some
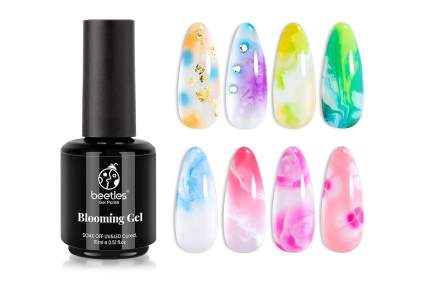
Beetles Blossom UV Gel is a nice choice for beginners because you get great results with not a lot of effort. Its thinner formula means you get results quickly without needing to prod and hope like with thicker gels. It’s great for people who hate working with goopy polishes.
That does mean that you need to be careful to only apply a very thin layer but that also means that you’ll get more uses out of this full-size bottle than you would with a thick gel.
Find more Beetles Blossom UV Gel information and reviews here.
-
4. Blooming UV Gel by Burano
Pros:- Comes with nail art brush
- Easy to apply formula
- Beginner-friendly
- Full-size bottle
Cons:- Not all polish brands work as well
- Costs more than others
- Lesser known brand
Burano’s Blossom UV Gel is a good beginner-friendly gel with a smooth, whispy spread great for marbling. It might spread a little too quickly for feathers or more intricate designs, but it has a great formula for marble nails. One neat thing is that the gel isn’t especially goopy so I’m not sure how they’re getting such a fluid blooming pattern.
I love that it comes with a detail nail art brush with a cute rhinestone handle and that the bottle is a full 15-milliliters.
Find more Blooming UV Gel by Burano information and reviews here.
-
5. Blossom Gel Polish by Rosalind (2-Pack)
Pros:- Good amount for your money
- Two 10-milliliter bottles
- Cures clear and glossy
- Applies well
Cons:- Not the highest quality in the bunch
- Paying for more packaging
- Pictures look like it comes with colors
This Rosalind Blossom Gel Polish Two-Pack is great for nail artists who go through a lot of product, plan to do plenty of practicing, or for two friends looking to split the cost.
The set comes with two 10-milliliter bottles which is like getting a full-size polish bottle and then half a full-size bottle again. It’s got a nice formula but isn’t as high-end as a salon-grade brand.
The images on the listing make it look like the blossom gel is colored but both bottles are clear.
Find more Blossom Gel Polish by Rosalind (2-Pack) information and reviews here.
Is Blooming UV Gel the Same as Watercolor Nail Polish?
No. A lot of products use the terms interchangeably but it's important to understand the distinction.
Watercolor polish is alcohol-based and air dries quickly allowing you to create interesting layered designs that build on each other. They're pigmented, with many different colors available, and translucent so you can see what's underneath.
Blooming polish is a special formula of clear gel polish that affects gel polish colors that are added to it causing them to spread out and bloom.
Generally, if a listing has a bunch of bottles of different colors, you're looking at watercolor nail inks. If the listing says it needs to be cured under a nail lamp, you're probably looking at blossom gel.
How Do You Use Blooming Gel Nail Polish?
First paint your nails with the base color of your choice. Light colors, especially white, allow your other colors to show up easier. Cure it with your LED or UV nail lamp.
Add a layer of blooming polish. You can control the viscosity and rate of spread by how much you apply. If you want your design to spread a lot, add a thicker layer. If you only want your design to spread a little, use a thinner layer. Do not cure it.
Using your preferred nail art brushes or dotting tools, you can now paint in the gel polish color (or colors) of your choice into the wet blossom gel and watch as it slowly transforms.
When you're happy with your design, cure it under your lamp. Keep in mind, thicker layers will need more time under the lamp. Seal in your nail art your best gel top coat.
Does it Need an LED or UV Nail Lamp to Dry?
Yes, blooming polish is a specialized type of gel and must be cured using a nail lamp.
Can I Use Any Polish as My Nail Art Colors?
You can use any gel nail polish you like. All UV gel polishes have different formulas and different consistencies so some brands may work better than others. You'll have to experiment to see what works best for your gel polish and blossom gel combination.
You can get different effects by using other UV gel products like spider gel and gel stamping polish.
How Can I Do Marble Nails at Home?
Marble nails are maybe the most simple and trickiest nail art to master--mainly because the design relies on the lines appearing random and that can be hard to do. It's also easy to overwork your design and have it turn out muddy.
Blossom gel simplifies things but it still takes some practice to get over the learning curve so don't get discouraged and I highly recommend practicing on swatch sticks.
Marble has many different looks from striped to patchy and you can achieve both with different techniques.
Striped.
First, apply the blooming polish over a light base color.
Using a small nail brush or striping brush, go in with your darkest color gel polish, like black, first and begin to draw thin, random lines.
If you like, add stripes lighters colors, like grey, and allow them to spread in the gel.
Brighten up your design by adding very thin white lines directly across the darker areas. You can watch a YouTube tutorial here.
You can use the same techniques above to create geode and agate nails
Mottled.
If you want something a little less stark you can start your design by adding a mid-tone color with a larger brush to create a mottled appearance before streaking in your "veins" of color.
What Other Nail Art Can You Do With Blossom Gel?
Two more quick ones: roses and snakeskin.
For roses draw thin half-moons, turning so they overlap without touching like the petals of a rose, starting very small and working bigger and bigger.
For simple snakeskin, use a dotting pen to add dots of your pattern color in a grid pattern with the center vertical line being larger than the other dots. It will spread out to look like scales.