Red Dead Redemption 2 has finally arrived on PC, so it’s time to climb back in the saddle and set off across the wild west. With the game finally hitting PC, developer Rockstar has added a long-requested feature that’s gained massive popularity of the years – Photo Mode. Now you can document your journey through this game’s dangerous world beyond simple screenshots. Available right from the start, you can start snapping photos as soon as you begin the main campaign.
How to Use Red Dead 2’s Photo Mode
To trigger photo mode hit the Esc key (PC)/ Start (Xbox Controller) to bring up the main menu. In the bottom right corner, you’ll see that Photo Mode is enabled. Now just click F6 (PC) View (Xbox Controller) to enable this feature. The game will automatically pause and you will be free to twist and move the camera if you’re not in a cutscene. Keep in mind you can take photos during cutscenes, but the camera will be locked.
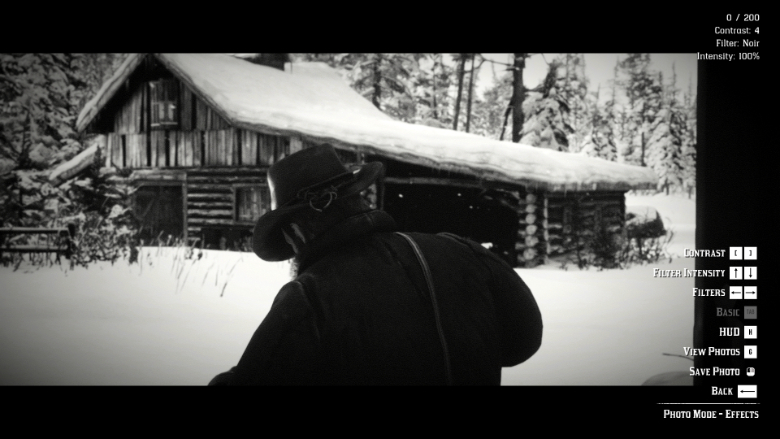
There are 38 filters that you can play around with and a variety of different camera features. It may take a little time to really get the hang of using Photo Mode, but once you do there are a ton of amazing opportunities for you to capture.
Where to Find Saved Photos
After you capture a photo, head to the Social Club via the Start Menu. From here you can edit, rename, delete, and upload your various photos. You can post it to the Social Club, where other players can enjoy and like your content. As for edits, you can add stickers which can be anything from additional frames to various icons. These can be moved and resized, so make sure to experiment with them. Alternatively, you could always add text to the photo which comes in a variety of different fonts and sizes.