Go to main menu
Go to search form
Heavy
Sports
Alerts
Hi,
Subscriber
Search
Sports
News, stats, rumors, predictions and roster moves around the NFL, NBA, MLB, NHL and more.
More From Sports
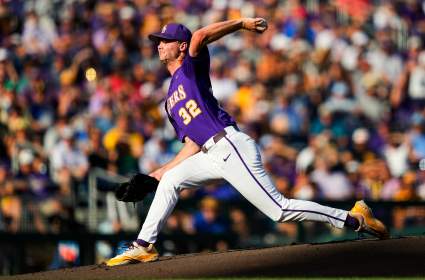
Mariners’ Kade Anderson is Turning Into a Monster
2 minutes ago
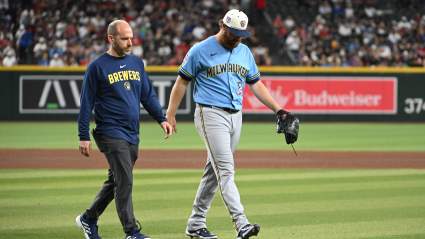
Milwaukee Brewers Provide Brandon Woodruff Injury Update After Diamondbacks Loss
1 hour ago
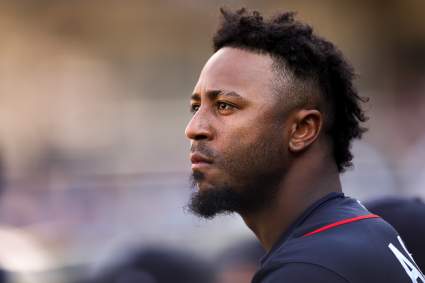
Ozzie Albies’ Wife Makes Heartfelt Post For The Atlanta Braves Star
2 hours ago
Andy Pages hits Rare Dodgers History in Landing First MLB All-Star bid
3 hours ago
Atlanta Braves Get Ronald Acuña Jr. Update During Mets Series
2 hours ago
Maple Leafs Hedge Bets by Locking Up Young Blueliner
4 hours ago
Chicago Cubs Announce Game Delay Against St. Louis Cardinals
4 hours ago
Lakers Face New Jonathan Kuminga Obstacle After Insider Report
4 hours ago
Boston Red Sox Willson Contreras Issues Tearful Apology: ‘I’ll Prove Myself’
4 hours ago
Patrick Mahomes Shares Photos From Travis Kelce, Taylor Swift Wedding
4 hours ago
Denver Nuggets Star Peyton Watson’s Contract Expectations Revealed
5 hours ago
Oilers Banking on Playoff Performer Coming Through Again
5 hours ago
Warriors 23-Year-Old Teases Big Year 2 Leap
5 hours ago
Philadelphia Phillies Sign Recently Released New York Yankees Player
3 hours ago
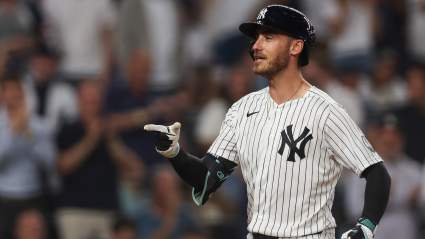
New York Yankees’ Cody Bellinger Reacts to Third MLB All-Star Nod
5 hours ago
Mexico Tough Odds Against England at FIFA World Cup 2026
5 hours ago
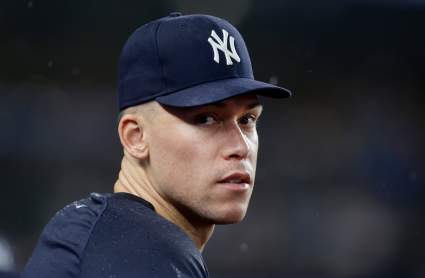
MLB Announces Bittersweet News on Yankees’ Aaron Judge
5 hours ago
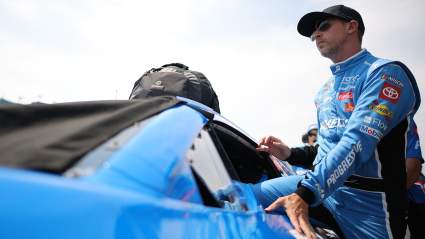
Denny Hamlin Edges Kyle Larson by 0.001 Seconds for Chicagoland Pole
6 hours ago
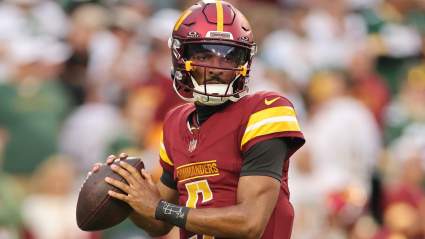
Jayden Daniels Gets Brutal Message From 49ers’ Brandon Aiyuk
6 hours ago
Lakers ‘Prefer’ to Cut Ties With 2 Veterans to Sign New Wing
6 hours ago
49ers Insider Issues Major Case for Deebo Samuel Reunion
7 hours ago
Maple Leafs Catch Stray From Opposition GM Over Mitch Marner
7 hours ago
LeBron James Sweepstakes Puts Lakers’ Final Big Move on Hold
7 hours ago
MLB Insider Says The Yankees Have an ‘Infield Problem’ Amidst Twins Series
7 hours ago
Carlsson Offer Sheet: Ducks Stuck in Catch-22
7 hours ago
Cavaliers Receive Key LeBron James Decision Update After Insider Report
7 hours ago
Report: Miami Heat Gain Momentum in LeBron James Race After Giannis Trade
7 hours ago
Report: Pistons Receive Major Kevin Durant Update After New Trade Rumor
7 hours ago
Louis Varland Named to 1st MLB All-Star Game
7 hours ago
Philadelphia 76ers Get Major LeBron James Sweepstakes Update
7 hours ago
More from Sports
Load More Sports ↓
Close sidebar
Home
NFL
Expand sub-menu
Arizona Cardinals
Atlanta Falcons
Baltimore Ravens
Buffalo Bills
Carolina Panthers
Cincinnati Bengals
Cleveland Browns
Chicago Bears
Dallas Cowboys
Denver Broncos
Detroit Lions
Green Bay Packers
Houston Texans
Indianapolis Colts
Jacksonville Jaguars
Kansas City Chiefs
Los Angeles Chargers
Los Angeles Rams
Las Vegas Raiders
Miami Dolphins
Minnesota Vikings
New England Patriots
New Orleans Saints
New York Giants
New York Jets
Philadelphia Eagles
Pittsburgh Steelers
San Francisco 49ers
Seattle Seahawks
Tampa Bay Buccaneers
Tennessee Titans
Washington Commanders
NBA
Expand sub-menu
Atlanta Hawks
Boston Celtics
Brooklyn Nets
Charlotte Hornets
Chicago Bulls
Cleveland Cavaliers
Dallas Mavericks
Denver Nuggets
Detroit Pistons
Golden State Warriors
Houston Rockets
Indiana Pacers
Los Angeles Clippers
Los Angeles Lakers
Memphis Grizzlies
Miami Heat
Milwaukee Bucks
Minnesota Timberwolves
New Orleans Pelicans
New York Knicks
Oklahoma City Thunder
Orlando Magic
Philadelphia 76ers
Phoenix Suns
Portland Trail Blazers
Sacramento Kings
San Antonio Spurs
Toronto Raptors
Utah Jazz
Washington Wizards
MLB
Expand sub-menu
Arizona Diamondbacks
Athletics
Atlanta Braves
Baltimore Orioles
Boston Red Sox
Chicago Cubs
Chicago White Sox
Cincinnati Reds
Cleveland Guardians
Colorado Rockies
Detroit Tigers
Houston Astros
Kansas City Royals
Los Angeles Angels
Los Angeles Dodgers
Miami Marlins
Milwaukee Brewers
Minnesota Twins
New York Mets
New York Yankees
Philadelphia Phillies
Pittsburgh Pirates
San Diego Padres
San Francisco Giants
Seattle Mariners
St. Louis Cardinals
Tampa Bay Rays
Texas Rangers
Toronto Blue Jays
Washington Nationals
NHL
Expand sub-menu
Anaheim Ducks
Boston Bruins
Buffalo Sabres
Calgary Flames
Carolina Hurricanes
Chicago Blackhawks
Colorado Avalanche
Columbus Blue Jackets
Dallas Stars
Detroit Red Wings
Edmonton Oilers
Florida Panthers
Los Angeles Kings
Minnesota Wild
Montreal Canadiens
Nashville Predators
New Jersey Devils
New York Islanders
New York Rangers
Ottawa Senators
Philadelphia Flyers
Pittsburgh Penguins
San Jose Sharks
Seattle Kraken
St. Louis Blues
Tampa Bay Lightning
Toronto Maple Leafs
Utah Mammoth
Vancouver Canucks
Vegas Golden Knights
Washington Capitals
Winnipeg Jets
More Sports
Expand sub-menu
College Basketball
College Football
Cricket
Formula 1
Golf
NASCAR
UFC
WNBA
Olympics
Pro Wrestling
Heavy on Soccer
Tennis