Not all hope should be lost once the human race is forced to live in a post-apocalyptic world ravaged by the undead.
State of Survival: Zombie War places you smack dab in that very situation and tasks you with rebuilding civilization. There’s a lot that goes into successfully handling such a lofty goal, such as clearing out the infected that occupy numerous spaces, setting up shop with new buildings, training your troops, upgrading your heroes, collecting resources, etc. There’s so much to accomplish within State of Survival: Zombie War, but we’ve done plenty of zombie blasting and fort upgrading in order to acquire the knowledge needed to offer you some much-needed advice.
Here are the top 5 tips, tricks, and cheats you need to know for State of Survival: Zombie War:
Download State of Survival: Zombie War from Google Play here.
1. Never Leave Any of Your Buildings in an Idle State for Long

KingsGroup Holdings
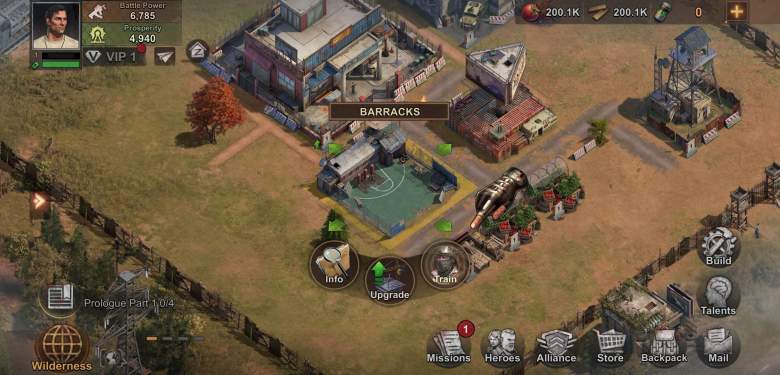
• One thing you’ll quickly come to learn about State of Survival: Zombie War is that that it takes time to properly upgrade your buildings and train your troops. At first, handling those tasks won’t take too long at lower levels. But the higher the level upgrade, the more time it’ll require for that upgrade task to be completed. Make sure none of the buildings and troop training tasks that are tied to actions that require a countdown timer to finish are left idle. Click on the tiny yellow arrow on the left side of your screen to see which major settlement jobs are idle so you can put them to work ASAP.
• That way, you can wait out the upgrade time limit by completing wilderness tasks, clear the infected in order to expand your settlement’s reach or anything else that requires your immediate attention. Farming for resources out in the wilderness during instances of timed upgrading jobs is always a viable option. By the time one of those jobs is done, you’ll have already gathered a ton of food and lumber for even more building upgrade tasks. Plus you’ll always get reminders whenever a task is completed, so you’ll always know when it’s time to set something else to its upgrade/training status.
2. Chart Out Your Progress Via the Chapter Goals, Daily Rewards Missions, Events and Current Character Unlocking Mission

KingsGroup Holdings
• There’s a lot to do, see and shoot within this game. In order to stick to a solid gameplan that will help you progress at a comfortable pace, be sure to complete the goals that are tied to each subsequent chapter. Completing those goals goes a long way towards upgrading your HQ, unlocking new buildings, and helping you get your hands on some awesome collectibles. You’ll also want to stay on top of your daily rewards missions – every time the time meter resets, be sure to completely fill it once again to get your hands on all the great rewards that come from completing them. As you reach new daily reward points milestones, you’ll unlock chests that contain even more useful items. Keep in mind that you don’t need to complete every daily reward mission on the list. Just take care of the ones you have an easier time accomplishing so you can reach the max daily rewards point total for the day in a flash.
• As you handle your day to day tasks, pay attention to the progress you’re making within ongoing events and the current character unlocking mission. Participating in events means you’ll get your hands on even rarer goods such as new characters that can be attached to your main party and extra biocaps. As for the character unlocking mission that’s currently underway, log in every day to make sure you complete as many achievements as possible so you can rack up mission progress points. Even when a new day with new achievements has begun, you can still complete the ones tied to previous days. So make sure you complete all the achievements tied to a specific day so you can eventually fill the mission progress meter completely and unlock a new powerful hero.
3. Link Up With an Alliance ASAP to Tap Into a Wealth of Benefits
• Once you earn the chance to hop into an alliance, try your best to enter an active one at your earliest convenience. After making it into one, you’ll come to realize that being a part of an alliance has some major benefits. You’ll get the chance to assist your fellow alliance members with war missions, acquire alliance crate rewards, assist/ask for timer help with your building and training tasks, pour donations into your alliance’s tech, etc.
• Before you log off for the day, make sure you’ve thrown your troops into an ongoing war, assisted with timer help requests, collected your alliance crate items, etc. Do everything in your power to help your alliance reach higher levels so everyone can participate in tougher battles over time. Higher-level alliances also get the chance to build new territory buildings and spread their influence, so keep up the good fight!
4. Strengthen Your Characters With the Items Earned by Completing Explorer Trail Missions and Special Intel Missions
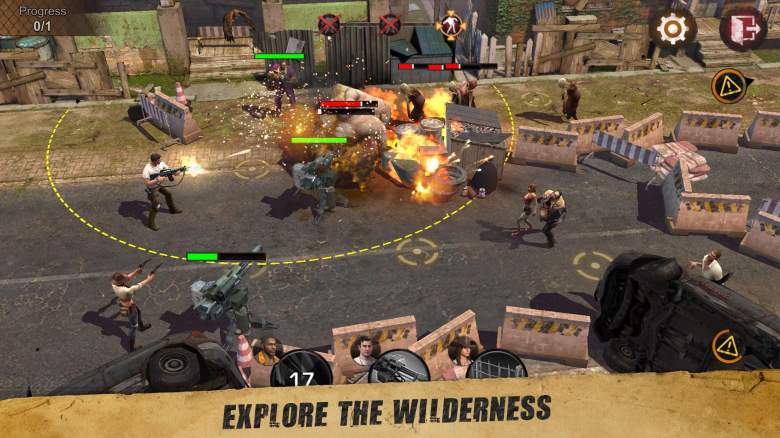
• Besides your troops, you’ll get to take down the infected with a party of heroes. You’ll need to regularly upgrade them so they’ll be strong enough to clear out occupied buildings and enlarge your territory’s space. As you confront new infected spaces, you’ll notice how much more formidable the enemies are within them. Once you hit such a high difficulty roadblock, take your heroes out in the world for some Explorer Trail missions. You’ll need to actively play out these missions with your heroes at first. But once you unlock the auto play and increase speed features, rely on them to quickly get the job done and earn extra upgrade items at a faster rate.
• Building a stronger party of heroes and making sure they’re ready to confront the undead within the occupied buildings you desire can be done by collecting items within each Explorer Trail stage and earning those sweet mission completion rewards. Getting your hands on hero upgrade fragments, combat manuals, and hero badges can easily be done by beating Explorer Trail missions. Oh and don’t forget to use your hero search options to unlock new heroes and items for your party strengthening needs.
5. Be Sure to Build Up New Parts of Your Settlement as You Upgrade Your Headquarters

KingsGroup Holdings
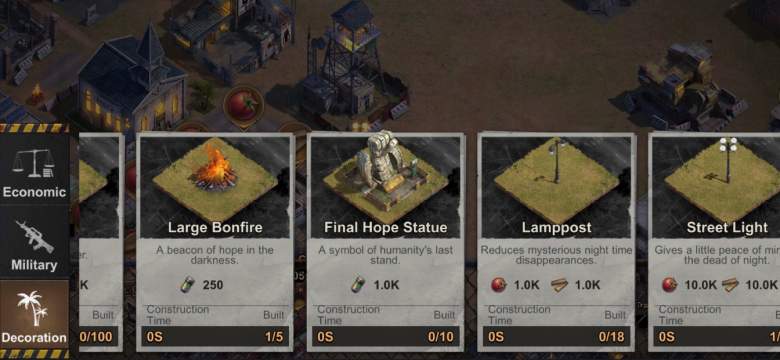
• Everything pretty much relies on how strong your headquarters becomes over time. You’ll need to update the other buildings on your settlement in order to eventually upgrade your HQ, which then leads to more buildings and other useful settlements items being added to your constructive efforts. Reaching a high prosperity level means you’ll need to regularly place new buildings and decorations around your home, so be sure to hit the max limit for each of those placements to get as many prosperity points as possible.
• Don’t freak out whenever you return to the game after a long period of time and see your home being ravaged by the infected – just clear them out with a few quick taps and your settlement will quickly return to a normal state of prosperity. Then just continue building to help your home prosper as much as possible before the vicious infected invasion cycle kicks in once again.
See Also
Comments
5 State of Survival: Zombie War Tips & Tricks You Need to Know