A terrifying new threat has emerged in the Marvel Universe.
To combat this new enemy, Stan Lee’s house of heroes and villains must join forces. This uneasy alliance is featured prominently in an enjoyable mobile gaming experience – Marvel Strike Force. To conquer this “marvelous” RPG, you’ll need to become well versed in the basics and advanced mechanics its gameplay thrives on. Saving the world isn’t easy. Luckily, you can look to this guide to assist you in a seemingly impossible mission.
Here are the top 10 Marvel Strike Force tips, tricks, and cheats you need to know.
1. The Path to Victory!

FoxNext Games, LLC
• When it’s time to head into your next mission, you may be asked to select only Hero characters, villains, or a combination of both. When you get to the “Select Squad” menu, tap on every character in your party to move them to the left side of the screen. That way, you can see who the strongest members are and put them all together for the upcoming battle. By the way, it’s always a wise decision to keep a character in your party who has access to a healing ability. An ideal party lineup would be one Support member, one Protector, one Blaster, and two Brawlers.

FoxNext Games, LLC
• Once you’re in an active battle, take note of who’s facing you. Make sure you read a character’s Ability by tapping and holding onto their ability icon during combat. It’s even possible for some characters to team up with others based on their abilities. If you run into a major Hero or Villain at the start, focus all of your attacks on that individual. If you paid attention to the mission briefing and know a major foe arrives after you clear out the first batch of baddies, save your special attacks until he/she arrives.
• Sometimes, you may enter battles where major characters pop up in different enemy waves. Hit them with everything you’ve got regardless of what order they arrive. If a party member who’s capable of healing you gets closer to death, activate another character’s Taunt ability to make sure all enemy attacks are focused on them for a while. That way, your injured ally has a chance of holding on for much longer and healing everyone.
• Once you beat a mission, you gain the ability to “Auto Win” that mission. Tap on a character’s gear in order to find the mission that drops their gear, then Auto Win the mission for quick and easier progress.
See Also: Best Android Games 2018
2. Nabbing New Gear and Upgrading Your Characters are Essential to Your Forward Progress

FoxNext Games, LLC
• As you complete an assortment of missions, you’ll gather a collection of gear for each character. When you head into the roster screen and see a green plus sign near any of your heroes or villains, that means an equippable item is available for them. Focus on equipping the characters you take into battle on the regular. When you fill all the equipment slots for a character, you’ll be presented with the option of upgrading them to the next tier. Do that and your hero or villain will grow even more powerful.
• Afterward, you’ll have to fill all their equipment slots again in order to reach their next tier. Once you’ve given your characters plenty of gear, you can increase their power even further by collecting their Character Shards to increase their Star count. More stars make your characters even stronger.
• Strengthening each character can also be done via upgrading them. This process is done via training – you’ll need Gold and various colored chips to make that happen. Train your best characters and make them the most formidable members of your party. Leveling up your Player Level not only gives you access to bonus items, but it also unlocks higher levels for each of your characters. So once you hit the current max level of a character, the only way towards opening up new levels for them is by raising your Player Level. Simply progressing through the game normally will lead to your Player Level increasing.
3. Complete Events and Unlock Even More Characters

FoxNext Games, LLC
• Once Events are unlocked, try taking them on. Chances are you’ll be rewarded with a new character for completing any of the battles associated with them. Keep an eye on the required character level needed to survive each Event battle. Complete the Elektra and Crossbones events ASAP since they’re the first ones you’ll come across. They’re great characters to add to your roster and will give you an advantage during the Villains campaign.
4. Blitz, Raids, Arena Mode, and Challenges!
• The Blitz, Raids, and Arena modes all contain character shards that you can buy from their stores. Start by focusing on one character for each of these modes so you can unlock or upgrade them much faster. Challenges are different every day. Always complete the hardest challenge you can for the best rewards. Once you beat a Challenge level, you can Auto Win it forever for free resources.
• Challenges are unlocked once you hit Player Level Eight. Blitz Mode becomes available at Player Level 14. Getting the chance to join a player-ruled alliance unlocks at Player Level 20. And you’ll get to take on tough raids with your fellow online companions once your Player Level hits 25. Raids provide valuable Ability Materials and rare Gear. And finally, the Arena opens its doors once your Player Level hits 30.
5. Marvel Strike Force’s Blasters

FoxNext Games, LLC
• Each Marvel: Strike Force character is unlocked as you collect their shards. Once they become an active member of your party, take a look at their abilities and character class association. A Blaster character deals out big damage via ranged attacks that target one enemy or multiple foes. However, they tend to take more damage than anyone else. Keeping Blasters alive means healing them or having another character Taunt in order to redirect enemy attacks away from them.
• Here’s a full list of every Blaster in the game:
– A.I.M. Assaulter
– Bullseye
– Hand Archer
– Hydra Grenadier
– Hydra Rifle Trooper
– Hydra Sniper
– Iron Man
– Kree Cyborg
– Korath the Pursuer
– Mercenary Soldier
– Mercenary Sniper
– Punisher
– Ravager Boomer
– Rocket Raccoon
– S.H.I.E.L.D. Assault
– S.H.I.E.L.D. Trooper
– Spider-Man
– Winter Soldier
– Thor
– Ultron
6. Marvel Strike Force’s Support Team Members
FoxNext Games, LLC
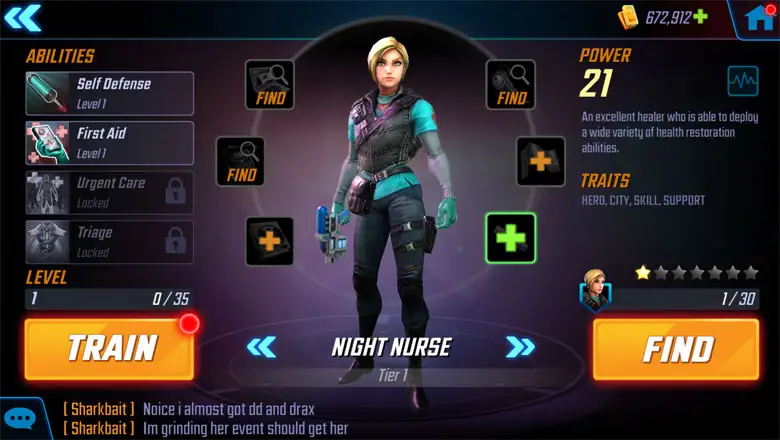
• Support characters have access to the type of abilities that heal and buff their teammates’ stats. Plus they’re capable of getting rid of any debuff character statuses. You should always have one of these character class members in your current party. Check out the list below to see who falls under that character class distinction:
– A.I.M. Researcher
– Hydra Scientist
– Hand Sorceress
– Kree Oracle
– Mercenary Lieutenant
– Nick Fury
– Night Nurse
– Ravager Stitcher
– Scientist Supreme
– S.H.I.E.L.D. Medic
– S.H.I.E.L.D. Operative
– Yondu
7. Marvel Strike Force’s Controllers
FoxNext Games, LLC
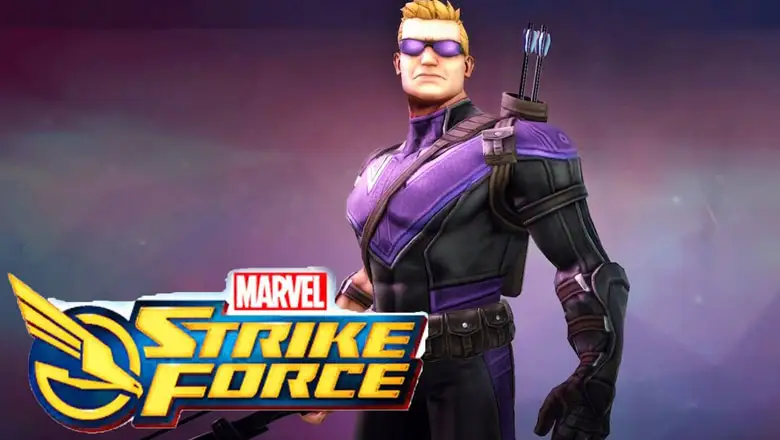
• Controllers may take more damage (just like Blasters), but their ability suite makes them a valuable asset to any team. Their skillset revolves around stat-effecting abilities that are harmful to your opponents. Here’s every Controller character class member in the game:
– A.I.M. Infector
– Black Widow
– Hand Assassin
– Hawkeye
– Jessica Jones
– Kree Noble
– Nobu
– Quake
– Red Skull
– Ronan the Accuser
8. Marvel Strike Force’s Brawlers
FoxNext Games, LLC
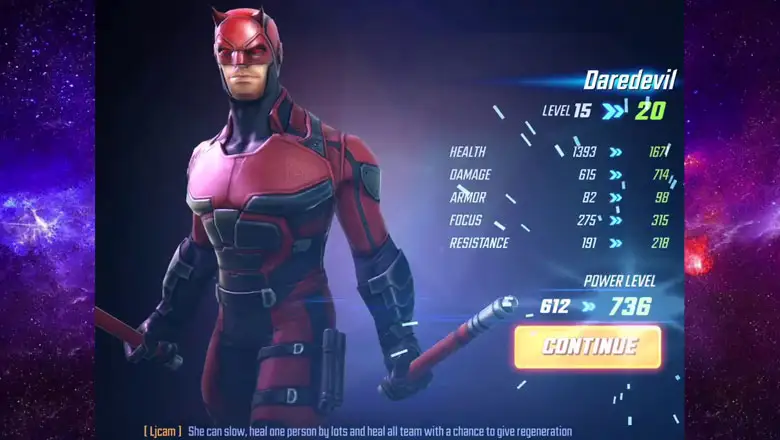
• Brawlers like to get more close and personal when it’s time to put a hurting on the enemy party. They can be called upon to dish out tons of damage alongside a Blaster. Unlike Blasters, however, Brawlers can sustain more damage and survive for much longer than expected. Check out the full lineup of Brawlers below:
– A.I.M. Monstrosity
– Black Panther
– Daredevil
– Elektra
– Gamora
– Hand Blademaster
– Iron Fist
– Kree Reaper
– Nebula
9. Marvel Strike Force’s Protectors
FoxNext Games, LLC
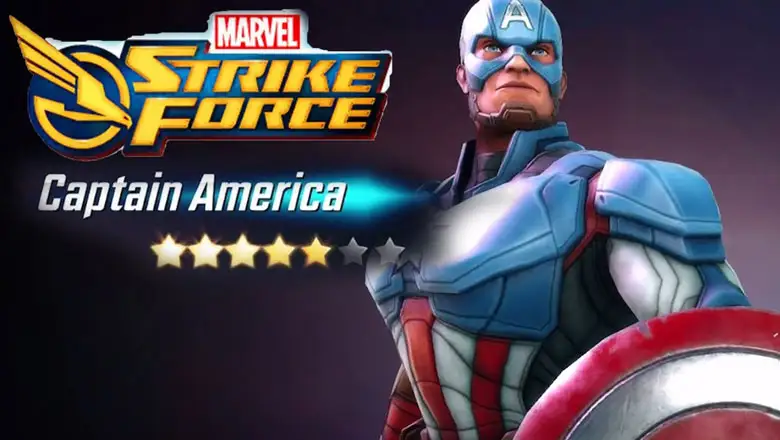
• Remember the Taunt ability we mentioned before? Protectors are usually the ones who can pull off that life-saving maneuver. Protectors are given their title because they can redirect enemy attacks from their fellow party members to them instead. Their basic attacks might not do a ton of damage, but their abilities are thankfully a lot stronger.
• Refer to the list below to see which Protectors you can collect and add to your party:
– A.I.M. Security
– Captain America
– Crossbones
– Drax
– Hand Sentry
– Hulk
– Hydra Armored Guard
– Kingpin
– Kree Royal Guard
– Luke Cage
– Mercenary Riot Guard
– Ravager Bruiser
– S.H.I.E.L.D. Security
10. Log-In Everyday, Fulfill Daily Objectives, and Complete the Achievements
• Getting the supplies you need can also be done by logging in on a daily basis. Sticking to that game plan means you’ll get tons of items for your dedication. You’ll also get access to more items as you complete Achievements and Daily Objectives. If you claim the “All Clear” objective nine times (clear all the Daily Objectives given to you on nine separate occasions), you’ll get to add Wolverine to your roster.
See Also
Comments
10 Marvel Strike Force Tips & Tricks You Need to Know