The Reckoning’s second tier has arrived and it’s going to be quite a challenge for the Destiny 2 player base. Set at 670 Light, this activity will test your ability to perform under pressure and kill waves of foes quickly. Composed of three parts, players will need to complete each one otherwise they will be sent back to the very beginning. This means communication is key, especially during the second phase of this activity.
We recommend being a minimum of 660 Light before you attempt this activity. While you can complete it at a lower Light level, this will prove to be quite difficult. Additionally, consider running Supers such as the Nova Bomb, Shadowshot, Sentinel, and Well of Radiance. Exotics such as the Skull of Dire Ahamkara and Orpheus Rig are incredibly powerful in this activity.
Here’s how to beat The Reckoning Tier 2:
-
1) Kill Enemies Until You Hit 100%
-

- The first phase of The Reckoning should be familiar to most of you by now. When you drop into the world you’ll be tasked with killing enemies until your percentage reaches 100%. There is no boss at the end of this, so just focus on slaying as many Taken as possible. We recommend sticking in groups of two, so you can rapidly eliminate squads of Taken as they spawn.
Remember to resurrect anyone who dies, otherwise, you’ll need to wait 20 seconds for them to spawn. Expect the usual collection of Taken along with a few mini-bosses like giant Taken Hobgoblins, Knights, or Captains. This is a pretty easy section so focus on just wiping out as many Taken as possible until the phase is finished.
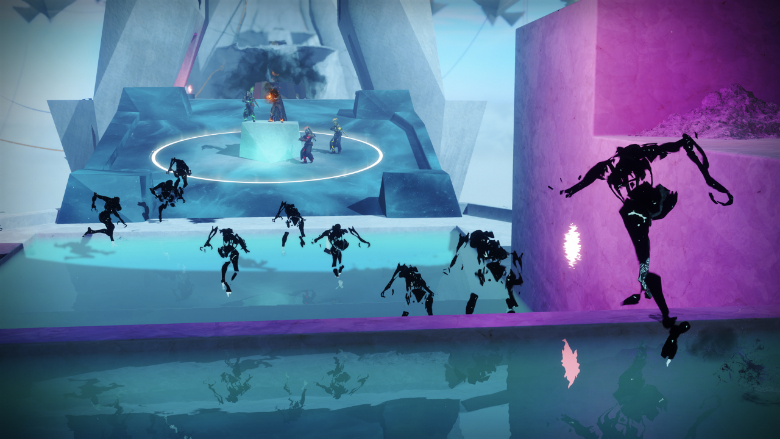
2) Capture 6 Circular Points
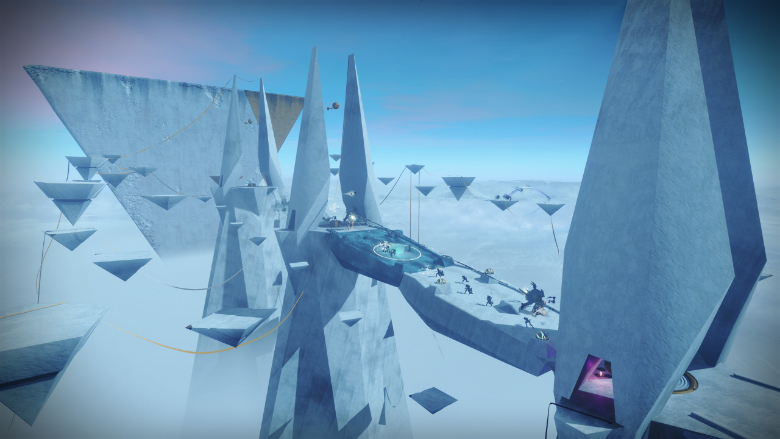

Here’s where things get tricky. The next phase requires your team to capture six points on an ever-expanding bridge. Each point will be absolutely mobbed by a collection of Shadow Thrall and major-class enemies. Your success on this bridge comes down to managing and chaining your Supers. There are a lot of Taken that spawn and it’s very easy to get overwhelmed.
Because of this, we suggest using Supers such as the Hunter’s Shadowshot, Warlock’s Nova Bomb, or Titan’s Hammers of Sol to rapidly kill enemies. Additionally, the Warlock’s Well of Radiance is especially potent in this phase. If you can coordinate with your teammates it’s more than possible to have a healing well at each point.
Work your way up the chain until you capture all six control points. This will spawn a sphere of darkness that teleports you to the final room.
3) Kill the Two Hive Champions
The final step has your teammates warping to a dark room full of pillars. In front of you, two powerful Hive Champions will spawn and begin attacking you. You’ll need to ignore them for now, as your guns don’t do enough damage to harm them. Split up and begin searching for a glowing white enemy called The Hermit. He should be in one of the room’s four corners.
Once discovered, call it out and have your team converge on this Taken enemy. Kill him to spawn a pool of light which gives anyone inside the Sundering Light buff. With this buff, you can now damage and hurt the two Champions. Focus on them and bring each Knight down. If the buff manages to wear off before they die you’ll need to repeat the process until both are done.
Remember, this entire section is time so speed is key. It’s vital that you kill The Hermit quickly and obtain his buff. After both Champions die you’ll complete The Reckoning Tier 2 and earn some rewards.