Go to main menu
Go to search form
Heavy
Sports
Alerts
Hi,
Subscriber
Search
Sports
News, stats, rumors, predictions and roster moves around the NFL, NBA, MLB, NHL and more.
More From Sports
76ers Star Tyrese Maxey Sends 5-Word Message After NBA Finals
2 minutes ago
Lakers Linked to Land 24-Year-Old Rising Superstar Next to Luka Doncic
5 minutes ago
Philadelphia Eagles Tabbed As Potential Landing Spot For QB Brendan Sorsby
10 minutes ago
Alabama Emerges as Favorite for Electrifying In-State WR After Official Visit
27 minutes ago
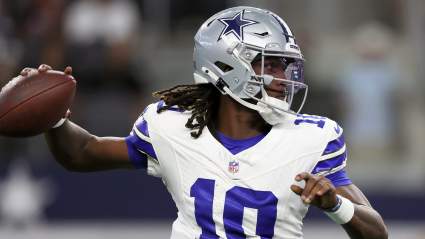
Cowboys Minicamp Opens With Heated Position Battles
37 minutes ago
Jets Work out ‘Excellent’ Ohio State CB Before Mandatory Minicamp
39 minutes ago
Justin Gaethje’s Coach Reveals Big Mistake That Ilia Topuria Made
1 hour ago
Knicks Star Mitchell Robinson Makes Important Parade Announcement
1 hour ago
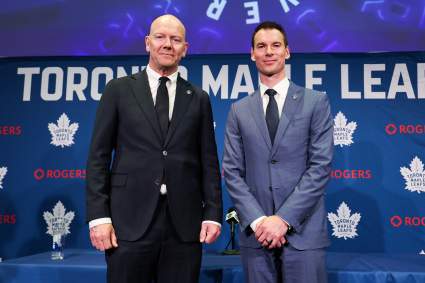
Maple Leafs Predicted to Make ‘Bold’ Move by Moving Key Player
1 hour ago
Bo Nickal Reacts After Knocking Out Kyle Daukaus at White House
1 hour ago
Seahawks Get Blunt Response on Latest Pending Sale Report
2 hours ago
US Open at Shinnecock Hills: Complete TV Schedule, Live Stream and How to Watch
2 hours ago
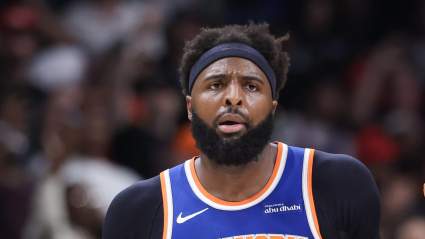
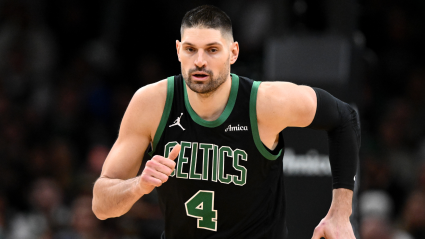
Nikola Vucevic Breaks Silence After Disastrous Celtics Tenure
2 hours ago
Yankees Issued Strong Trade Position on Astros’ Isaac Paredes
3 hours ago
Celtics Urged To Target Sharpshooting Forward In Free Agency
3 hours ago
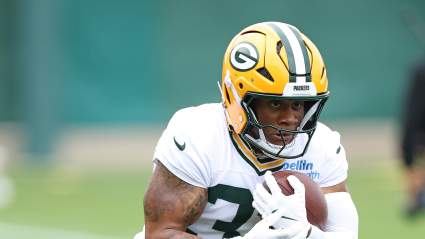
Packers Potential Big-Play RB Gets Cold Water Thrown on Newfound Health
3 hours ago
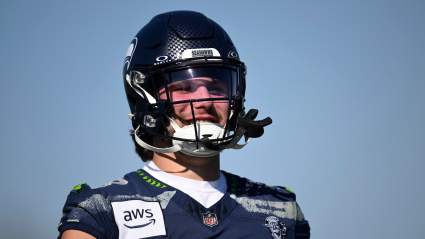
Seahawks 3rd-Year Playmaker Pegged X-Factor for 2026 NFL Season
3 hours ago
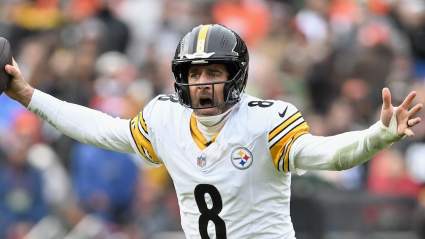
Steelers Get Another Warning on 42-Year-Old Aaron Rodgers
3 hours ago
Lions Former 2nd-Round Pick Gets Put on Notice Entering Minicamp
3 hours ago
Ex-Dodgers Pitcher Sends Statement to Former NL West Rival in Cardinals Win
4 hours ago
Lakers Considered 7-Foot-4 Center Move Before Dramatic U-Turn
4 hours ago
49ers Insider Shares Major Trade Update for Raiders’ Maxx Crosby
5 hours ago
Spurs Trade Idea Dumps De’Aaron Fox For $150 Million All-NBA Guard
5 hours ago
Max Scherzer Trade Atlanta Braves And Toronto Blue Jays Must Consider
5 hours ago
Jalen Hurts News Creates Major Uncertainty for Eagles
6 hours ago
Los Angeles Dodgers Cut Former MLB All-Star During Rays Series
5 hours ago
Vikings’ Former Standout Could Be Eyeing NFL Return
6 hours ago
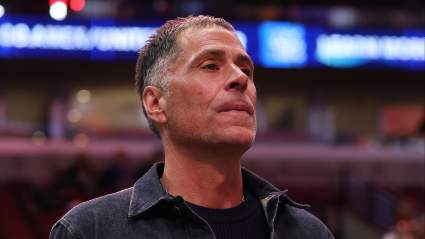
Ben Roethlisberger Doesn’t Hold Back on Ravens, Lamar Jackson
6 hours ago
Los Angeles Dodgers World Series Champion Is Still An MLB Free Agent
5 hours ago
Lakers Free Agent Linked to Spurs by Insider After NBA Finals Loss
6 hours ago
More from Sports
Load More Sports ↓
Close sidebar
Home
NFL
Expand sub-menu
Arizona Cardinals
Atlanta Falcons
Baltimore Ravens
Buffalo Bills
Carolina Panthers
Cincinnati Bengals
Cleveland Browns
Chicago Bears
Dallas Cowboys
Denver Broncos
Detroit Lions
Green Bay Packers
Houston Texans
Indianapolis Colts
Jacksonville Jaguars
Kansas City Chiefs
Los Angeles Chargers
Los Angeles Rams
Las Vegas Raiders
Miami Dolphins
Minnesota Vikings
New England Patriots
New Orleans Saints
New York Giants
New York Jets
Philadelphia Eagles
Pittsburgh Steelers
San Francisco 49ers
Seattle Seahawks
Tampa Bay Buccaneers
Tennessee Titans
Washington Commanders
NBA
Expand sub-menu
Atlanta Hawks
Boston Celtics
Brooklyn Nets
Charlotte Hornets
Chicago Bulls
Cleveland Cavaliers
Dallas Mavericks
Denver Nuggets
Detroit Pistons
Golden State Warriors
Houston Rockets
Indiana Pacers
Los Angeles Clippers
Los Angeles Lakers
Memphis Grizzlies
Miami Heat
Milwaukee Bucks
Minnesota Timberwolves
New Orleans Pelicans
New York Knicks
Oklahoma City Thunder
Orlando Magic
Philadelphia 76ers
Phoenix Suns
Portland Trail Blazers
Sacramento Kings
San Antonio Spurs
Toronto Raptors
Utah Jazz
Washington Wizards
MLB
Expand sub-menu
Arizona Diamondbacks
Athletics
Atlanta Braves
Baltimore Orioles
Boston Red Sox
Chicago Cubs
Chicago White Sox
Cincinnati Reds
Cleveland Guardians
Colorado Rockies
Detroit Tigers
Houston Astros
Kansas City Royals
Los Angeles Angels
Los Angeles Dodgers
Miami Marlins
Milwaukee Brewers
Minnesota Twins
New York Mets
New York Yankees
Philadelphia Phillies
Pittsburgh Pirates
San Diego Padres
San Francisco Giants
Seattle Mariners
St. Louis Cardinals
Tampa Bay Rays
Texas Rangers
Toronto Blue Jays
Washington Nationals
NHL
Expand sub-menu
Anaheim Ducks
Boston Bruins
Buffalo Sabres
Calgary Flames
Carolina Hurricanes
Chicago Blackhawks
Colorado Avalanche
Columbus Blue Jackets
Dallas Stars
Detroit Red Wings
Edmonton Oilers
Florida Panthers
Los Angeles Kings
Minnesota Wild
Montreal Canadiens
Nashville Predators
New Jersey Devils
New York Islanders
New York Rangers
Ottawa Senators
Philadelphia Flyers
Pittsburgh Penguins
San Jose Sharks
Seattle Kraken
St. Louis Blues
Tampa Bay Lightning
Toronto Maple Leafs
Utah Mammoth
Vancouver Canucks
Vegas Golden Knights
Washington Capitals
Winnipeg Jets
More Sports
Expand sub-menu
College Basketball
College Football
Cricket
Formula 1
Golf
NASCAR
UFC
WNBA
Olympics
Pro Wrestling
Heavy on Soccer
Tennis