Go to main menu
Go to search form
Heavy
Sports
Alerts
Hi,
Subscriber
Search
Sports
News, stats, rumors, predictions and roster moves around the NFL, NBA, MLB, NHL and more.
More From Sports
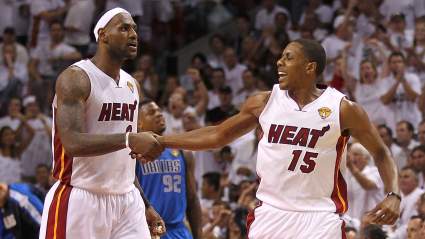
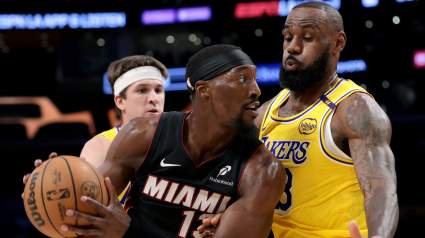
Mario Chalmers Predicts When Ex-Heat teammate LeBron James Will Retire
13 minutes ago
Norway’s Next Game: Who Do The Vikings Play Next in World Cup Schedule?
31 minutes ago
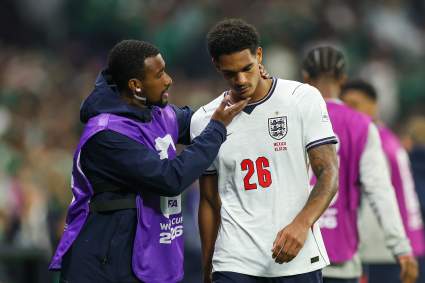
Who Is England’s Next World Cup Opponent? Quarterfinal Schedule
36 minutes ago
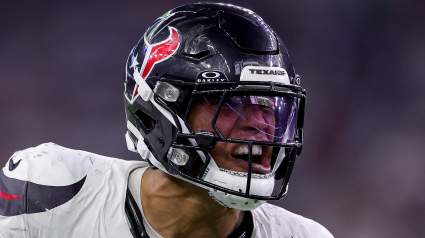
Unsung Hero Highlighted as Potential Texans Deal Looms
36 minutes ago
Denver Nuggets Get Trade Proposed to Add More Spacing for Nikola Jokic
1 hour ago
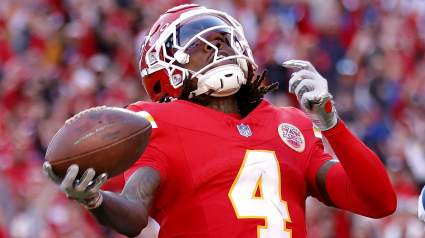
Chiefs Head Coach Andy Reid Gives 5-Word Rashee Rice Update
1 hour ago
Jarell Quansah Draws Controversial Red Card, Leaves England Down to 10 Men vs. Mexico
1 hour ago
Atlanta Braves Reportedly Make Eye-Opening Roster Move
52 minutes ago
Paul Pierce Sends Message to Jaylen Brown Following Trade From Boston Celtics
1 hour ago
Peyton Watson’s Nuggets Future Takes Unexpected Turn
2 hours ago
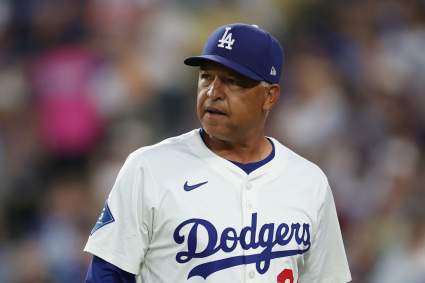
Former Dodgers’ All-Star Signs With New MLB Team
2 hours ago
Sheamus Linked To AEW After WWE Contract Shockingly Expires
2 hours ago
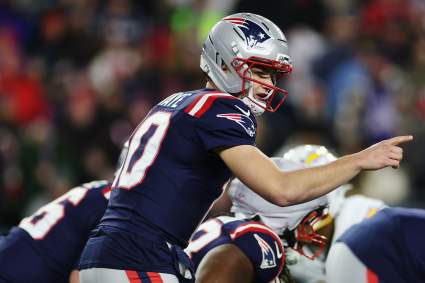
How Many Patriots Players Crack 100 Most Important List?
2 hours ago
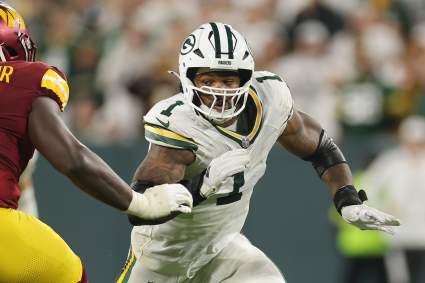
Packers Get Harsh Reality Check on Micah Parsons Trade
2 hours ago
NBA Legend Joe Johnson Reacts To Lakers-Wizards Trade
45 minutes ago
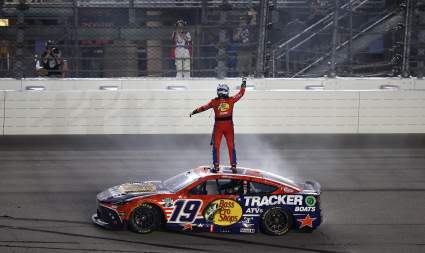
Chase Briscoe Wins NASCAR’s Return to Chicagoland After Holding Off Christopher Bell
1 hour ago
Yankees Make Ugly AL History Amid Brutal Offensive Collapse
2 hours ago
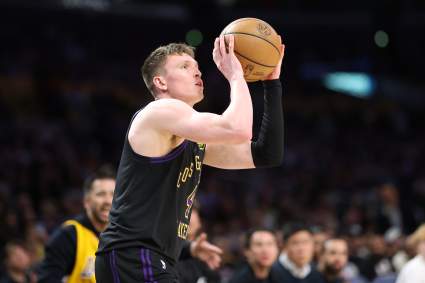
Los Angeles Clippers Get Good News on Peyton Watson Free Agency
2 hours ago
LeBron James’ Friend Says Heat Are Current Leaders To Sign Him
2 hours ago
Blue Jays Make George Springer Decision After Being on Family Medical Emergency List
2 hours ago
Houston Astros Joe Espada Sets Lofty Goal Before All-Star Break
2 hours ago
Lakers Get New Path to Longtime Wing Target
2 hours ago
Marlins Manager Faces Backlash After Pulling Eury Perez During Perfect Game Bid
2 hours ago
Blue Jays Miscommunication Leads to Series Loss Against Seattle
2 hours ago
Mexico’s Next Game: Who & When Does El Tri Play Next in World Cup Schedule?
2 hours ago
Ducks Not Out of Woods Following Mintyukov Signing
2 hours ago
Red Sox SP Sonny Gray Connected to AL Wild Card Contender
2 hours ago
5-Year Philadelphia Phillies Pitcher Released by Current MLB Team
3 hours ago
Athletics Release 5-Year MLB Player After Marlins Game
2 hours ago
Insider Reveals LeBron’s Real Relationship With Luka Doncic After Leaving Lakers
3 hours ago
More from Sports
Load More Sports ↓
Close sidebar
Home
NFL
Expand sub-menu
Arizona Cardinals
Atlanta Falcons
Baltimore Ravens
Buffalo Bills
Carolina Panthers
Cincinnati Bengals
Cleveland Browns
Chicago Bears
Dallas Cowboys
Denver Broncos
Detroit Lions
Green Bay Packers
Houston Texans
Indianapolis Colts
Jacksonville Jaguars
Kansas City Chiefs
Los Angeles Chargers
Los Angeles Rams
Las Vegas Raiders
Miami Dolphins
Minnesota Vikings
New England Patriots
New Orleans Saints
New York Giants
New York Jets
Philadelphia Eagles
Pittsburgh Steelers
San Francisco 49ers
Seattle Seahawks
Tampa Bay Buccaneers
Tennessee Titans
Washington Commanders
NBA
Expand sub-menu
Atlanta Hawks
Boston Celtics
Brooklyn Nets
Charlotte Hornets
Chicago Bulls
Cleveland Cavaliers
Dallas Mavericks
Denver Nuggets
Detroit Pistons
Golden State Warriors
Houston Rockets
Indiana Pacers
Los Angeles Clippers
Los Angeles Lakers
Memphis Grizzlies
Miami Heat
Milwaukee Bucks
Minnesota Timberwolves
New Orleans Pelicans
New York Knicks
Oklahoma City Thunder
Orlando Magic
Philadelphia 76ers
Phoenix Suns
Portland Trail Blazers
Sacramento Kings
San Antonio Spurs
Toronto Raptors
Utah Jazz
Washington Wizards
MLB
Expand sub-menu
Arizona Diamondbacks
Athletics
Atlanta Braves
Baltimore Orioles
Boston Red Sox
Chicago Cubs
Chicago White Sox
Cincinnati Reds
Cleveland Guardians
Colorado Rockies
Detroit Tigers
Houston Astros
Kansas City Royals
Los Angeles Angels
Los Angeles Dodgers
Miami Marlins
Milwaukee Brewers
Minnesota Twins
New York Mets
New York Yankees
Philadelphia Phillies
Pittsburgh Pirates
San Diego Padres
San Francisco Giants
Seattle Mariners
St. Louis Cardinals
Tampa Bay Rays
Texas Rangers
Toronto Blue Jays
Washington Nationals
NHL
Expand sub-menu
Anaheim Ducks
Boston Bruins
Buffalo Sabres
Calgary Flames
Carolina Hurricanes
Chicago Blackhawks
Colorado Avalanche
Columbus Blue Jackets
Dallas Stars
Detroit Red Wings
Edmonton Oilers
Florida Panthers
Los Angeles Kings
Minnesota Wild
Montreal Canadiens
Nashville Predators
New Jersey Devils
New York Islanders
New York Rangers
Ottawa Senators
Philadelphia Flyers
Pittsburgh Penguins
San Jose Sharks
Seattle Kraken
St. Louis Blues
Tampa Bay Lightning
Toronto Maple Leafs
Utah Mammoth
Vancouver Canucks
Vegas Golden Knights
Washington Capitals
Winnipeg Jets
More Sports
Expand sub-menu
College Basketball
College Football
Cricket
Formula 1
Golf
NASCAR
UFC
WNBA
Olympics
Pro Wrestling
Heavy on Soccer
Tennis