Red Sox Broadcaster Claps Back at Heckler on Social Media Over “Sox in the Box” Broadcast 2 hours ago
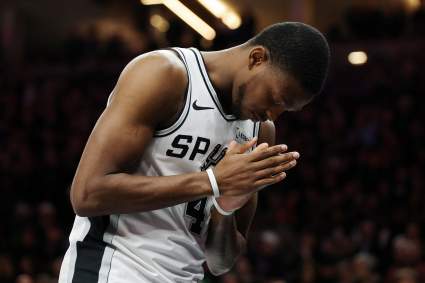
‘Didn’t Deserve to Win’: Spurs’ Mitch Johnson Sends Strong Message After Knicks Win NBA Championship 2 hours ago
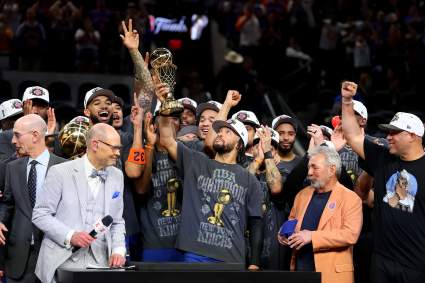
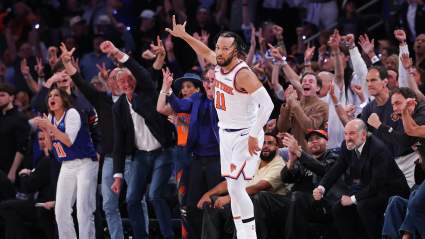
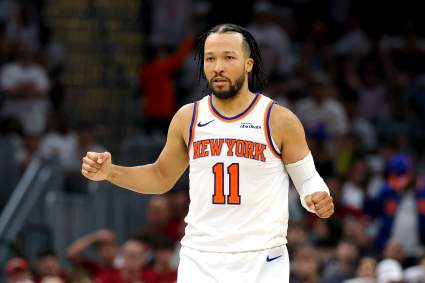
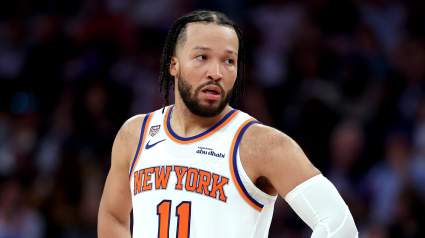
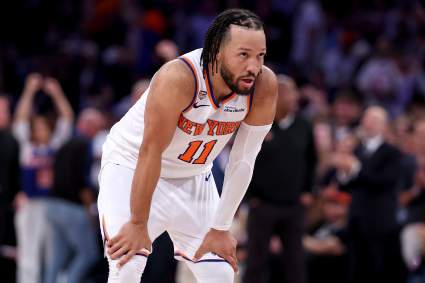
NBA World Reacts to Jalen Brunson’s Heroic Performance as Knicks Capture NBA Championship 3 hours ago
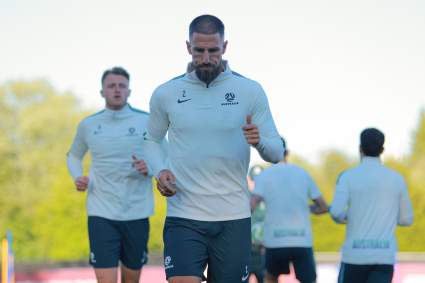
How to Watch Australia vs Türkiye Live Today: FIFA World Cup 2026 Preview, Stats, Team News 3 hours ago